09 September 2010

Chocolate Tart

Needless to say, med school is intense.  My posts are going to be few and far between except for breaks... One thing I look forward to every week is our Thursday night "supper club".  There is a group of 7 that rotates cooking for each other every week... it's a nice thing to look forward to once a week.  For my week I made steak and blue cheese tacos and this amazing chocolate tart for dessert.  I didn't take many pictures because I was crunched for time.  I have to warn you, this tart takes a lot of time and patience! BUT, if you can get through it, the end result is sooo worth it!


I got this recipe from Tyler Florence, off of Food Network.  Please, serve with some cool whip and a large glass of milk!

Ingredients for crust:
2 cups all purpose flour
3T sugar
1/4 tsp salt
3/4 cup unsalted butter, cold, and chopped into squares
1 large egg, seperated
2T ice water, plus more if needed

Directions for crust:
1. Combine flour, sugar, and salt in large mixing bowl.  Add butter and mix with pastry cutter, until it resembles coarse crumbles.
2. Make a well in the middle of the pastry.  Combine the egg yolk with the ice water, whisk to blend.  Pour mixture into well and mix until it all comes together.  Squeeze a small amount together, if it is still really crumbly, add more ice water.
3. Form dough into disk, and refrigerate for at least 30 mins.
4. Roll out dough into a 12 in circle, that is 1/4in thick.  Carefully roll dough into tart pin.  Press dough neatly into all edges and then shave off the excess crust.  Place tart in refrigerator for 15 mins to let it relax.
5. Preheat oven to 350.  Place tart on a cookie sheet.  Layer the crust with aluminum foil and place pie weights (or I use uncooked red beans) on top of the crust.  Bake for 30 mins.
6. Remove the aluminum foil and weights.  Brush top of crust with a beaten egg white.  Bake for 8 more mins or until lightly golden in color.

Ingredients for Tart:
1 cup heavy cream
1/2 cup milk
10 oz semi-sweet chocolate
2T sugar
1/4 tsp salt
2 eggs at room temperature

Directions for Tart:
1. Heat the cream and milk in a saucepan over medium-low heat until it simmers slightly along the edges.
2. Remove from heat, add chocolate and stir until it is all melted.
3. Add sugar and salt and whisk until incorporated.
4. Beat eggs in a small bowl, add them to the chocolate mixture, and whisk until incorporated.
5. Pour filling into a cooled tart pan and bake at 325 for 20-25 mins (mine took more like 40mins).  Stop baking when the filling is set and the top looks glossy.  If there are any cracks or many bubbles on the surface, take out the tart.
6. Cool and serve with whip cream!!!

Happy Baking!!

24 July 2010

Black Bottom Cupcakes

Thought I would post a little something sweet for a nice weekend treat :)  I made these cupcakes for my friend Libby's birthday a few weeks ago.  If you like chocolate and cheesecake then you will LOVE these, because it's a mixture of both :)  And add some cream cheese frosting... even though they are already pretty sweet, I just think it gives them a little something extra!

The recipe makes 12 cupcakes and is from the Hummingbird Bakery cookbook!  Some advice on these, even though there is cream cheese in the frosting don't refrigerate them... I think it takes away the moistness in the cake!

Ingredients:
Chocolate Cake Base:
1.5 cups all-purpose flour
1/2 cup plus 1 T sugar
1/3 cup unsweetened cocoa powder
1/2 tsp baking soda
1/4 cup sunflower oil
1.5 tsp distilled white vinegar
1/2 tsp pure vanilla extract
1/2 cup water

Cream Cheese filling:
4.5 oz cream cheese
1/3 cup sugar
1 egg
1/2 tsp pure vanilla extract
pinch of salt
2.3 cup chocolate chips

Directions:
For Chocolate Base:
1.  Mix together flour, sugar, cocoa, and baking soda in a large bowl and mix with a handheld mixer on slow speed until all dry ingredients are incorporated.

2. Put the oil, vinegar, vanilla, and water in a glass and whisk to combine.  Slowly incorporate this into the dry ingredients, increasing the speed of the mixer as it thickens.  Continue beating until just incorporated and spoon batter into cupcake pan.

The mixture will be very thick!

For Cheescake Filling:
1.  Using a stand mixer with paddle attachment, beat together the cream cheese, sugar, egg, vanilla, and salt.  Beat on medium-slow speed until smooth and fluffy. 

2.  Stir in chocolate chips by hand until evenly dispersed (don't overmix!!!).  Scoop 1 T of filling on to pf the cupcake batter in the cases.

3.  Bake in a preheated 325 degree oven for ~20 mins. 


4.  Allow cupcakes to cool completely before frosting!

Happy baking and have a great weekend!

16 July 2010

I LOVE the beach!

Wednesday my family and I drove down to Destin, Fl to relax and have a few days in the sun!  The good news?  There is absolutely no oil on the beach!  I am told there hasn't been any yet this far down the coast, and hopefully it won't reach here as the beaches are beautiful!

Last night we drove to Grayton Beach to eat at The Red Bar... and let me tell you it is The most delicious place down here!  I was planning on taking pictures to post up here, but we got seated fast, the food came out faster, and I was too hungry to stop and photograph lol... but if you're ever within a 30 mile radius, it's really worth the drive.

Tonight my aunt and uncle are driving over from Daphne to eat out... I will try to photograph tonights food, where a large plate of amazing swordfish is calling my name!

Hope everyone has a great weekend! I will be moving into my new aparment in Birmingham on Sunday/Monday and then starting med school in one week (ahhh)... but I'm so excited to finally get started!

12 July 2010

The Big Apple

I thought I would share some of my pictures from my trip to NYC to see my friend Mallory... it was more like a sorority reunion, aka we had soo much fun!
Of course we had to celebrate me getting into medical school! We were at a pub on the Upper West Side.


Serendipity was soo good! Advice, arrive before it opens if you don't want to wait four hours!  I have to try and make their frozen hot chocolates... they are HUGE!


Brooklyn Bridge!


Times Square!


View from central park!

We had so much fun while we were there, and it was great to see Mallory!!

I am leaving for the beach Wednesday.  Hopefully there won't be any oil :(((

11 July 2010

Oh my! Sweet apple pie!

So I'm sorry for the almost month long break in blogging.  Apperently when you get into medical school you can't just sit back and enjoy the few weeks of freedom, because there is a massive checklist of stuff you have to complete... in just two weeks! But I am finally done, and except for packing and moving back to Birmingham, my last 2 weeks of freedom should be nice and relaxing!!

For Father's day I made my Dad homemade apple pie, one of his all time favorite desserts!  This recipe is from the amazing Martha Stewart from her cookbook, The Baking Handbook.


I have to say, it was definiately a hit that I will be making again and again, so you should try it out... and please, serve it was some good, cold vanilla ice cream... it just adds to the flavor!

Ingredients
3 T all purpose flour
2 frozen pie crusts, thawed
1 large egg yolk
1 T heavy cream
3 lbs assorted apples (Granny Smith, Fuji, Macoun, Courtland, etc.)
2 T fresh lemon juice
1/4 cup sugar
1 tsp ground cinnamon
1/4 tsp ground nutmeg
1/8 tsp salt
1 T unsalted, cold butter, cut into small pieces
extra sugar for sprinkling

Directions
1.  On a lightly floured piece of parchment paper, roll out one disk of dough to a 12-inch round.  Sweep off extra flour with a pastry brush.  Fit the dough into a 9in glass pie dish, and press it to the sides.  Allow 1/2 in to hang off the edge, all around.  Chill for 30 mins, until the dough is firm.

2.  In a small bowl, whisk together the egg and cream and set aside, this is the egg wash to be used later.

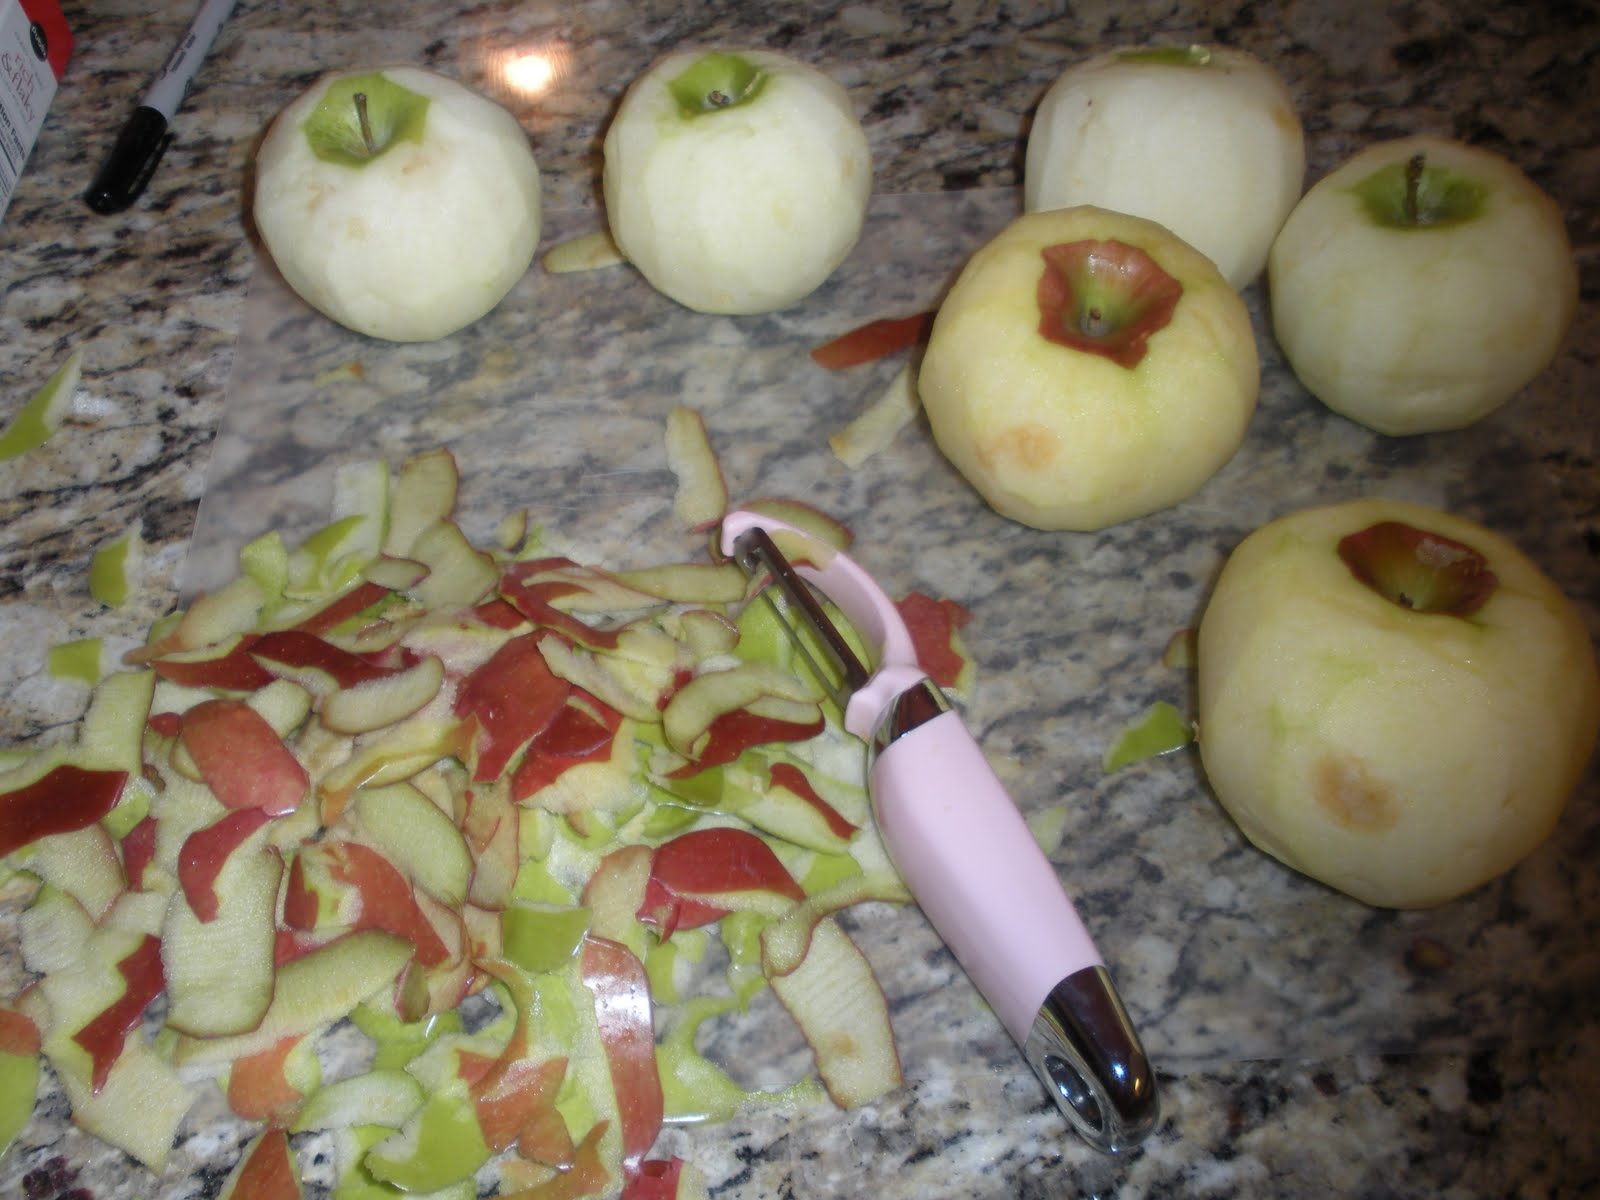
3.  Peel and chop the apples.


4. In a large bowl, toss together the apples, lemon juice, granulated sugar, flour, cinnamon, nutmeg, and salt. Arrange these in the chilled pie shell.


5.  Dot all over with the cold, choppped butter.


4.  Brush rim of pie shell with egg wash.  Place the second piece of dough on top, and gently press over apples.  Trim dough to a 1in overhang.  Tuck dough under and crimp edge if desired.

5.  Brush entire surface of pie with egg wash and sprinkle genrously with sugar.  Cut three vents into top to allow steam to escape.  Freeze until firm, about 30 mins.


6.  Preheat oven to 400, with the rack in the lower third of the oven.  Place pie on a parchment lined baking sheet and bake for 20 mins, or until the crust starts to turn golden brown.  Reduce oven temp to 350 and continue baking, rotating the pan halfway through, for 40-50 mins or until the crust is a deep golden brown and the juices have thickened and are bubbling.


7.  Transfer pie to wire rack and allow to cool completely.  It can be stored at room temp for up to 2 days covered loosely in plastic wrap, but it is best when eaten the same day as cooked.

Happy Baking!

15 June 2010

Life Updates!

So a few life updates... I got back from NYC yesterday after a whirlwind day of flying that included flight cancellations, re-routing through DC, running in the airport, and 2 drives back and forth to Birmingham, but I'm home.  Pictures to come later.

More importantly though, I got into med school!!! So I will begin school at UAB School of Medicine July 26th... there goes the next for years of my life... but sooo worth it!  I already have a roomate and will finalize my apartment on Friday, so everything is finally coming together!

Our kitchen is almost done, so I will finally be able to bake... that is after the dishwasher is installed back in.  After the look my Dad gave me when I told him I was going to bake before it was installed, I thought it better to wait.... because he does dishes in our house.

Well hopefully I will be able to post again soon!

02 June 2010

Chicken Poppyseed Casserole

So if you were born even remotely near the south, you have heard of/eaten chicken poppyseed casserole.  When I came home from work today, I was fully expecting yet another set of take out menus placed on the kitchen table for me to pick from... and my body was silently preparing itself for the billion miles I would have to run to work off said takeout.  BUT, I amazingly came home to find my Mom getting out the ingredients to make the one and only casserole I will eat... I swear I'm not a picky eater, I just reallyyy don't like casseroles for some reason... probably because I have been force fed them my entire life.

Anyways, this recipe is from my sister-in-law Kristin... The first time I put it in my mouth, something like this was said, "OMG this is like crack.... (big mouth full of food)... you just can't stop eating it".  Then I began making it for friends. Again. And again. And again.  Concensus?? Everyone agrees.  Just try it. Love it.  Die.  Then try it again.

PS.  We still don't have an oven, but we finally got a convection oven!!! YAY!! real food will be made again! And I can start posting recipes!!

Ingredients:
3-4 chicken breasts
8oz fat free sour cream
1 can cream of chicken soup
1/4 cup chicken broth
1.5 rolls of ritz crackers
1/2 cup butter, melted
1 T poppy seeds

Directions:
1.  Place the raw chicken breasts in a pot filled with water.  Bring water to a boil.  Boil for 30 mins.  Once cooled off slightly, shread the chicken breasts.

2.  Preheat oven to 350.  Mix together the sour cream, chicken soup, chicken broth, and chicken breast pieces.  Set aside.

3.  Crush the ritz crackers and pour them into a bowl.  Pour the poppy seeds and melted butter over the crackers, mix together.

4.  Spray an 8x8 pan with Pam.  Layer half the cracker mixture on the bottom of the pan.  Top with all the chicken mixture.  Top with the other half of the cracker mixture.

5.  Bake for 30 mins.  You may have to cover the pan with aluminum foil if the crackers start to get too dark.  Serve with brown rice (trust me on this one) and enjoy!!!

Sorry there are no pictures... my camera died... sad day.

Happy Baking!!

PS. Countdown to NYC, 8 days!!!